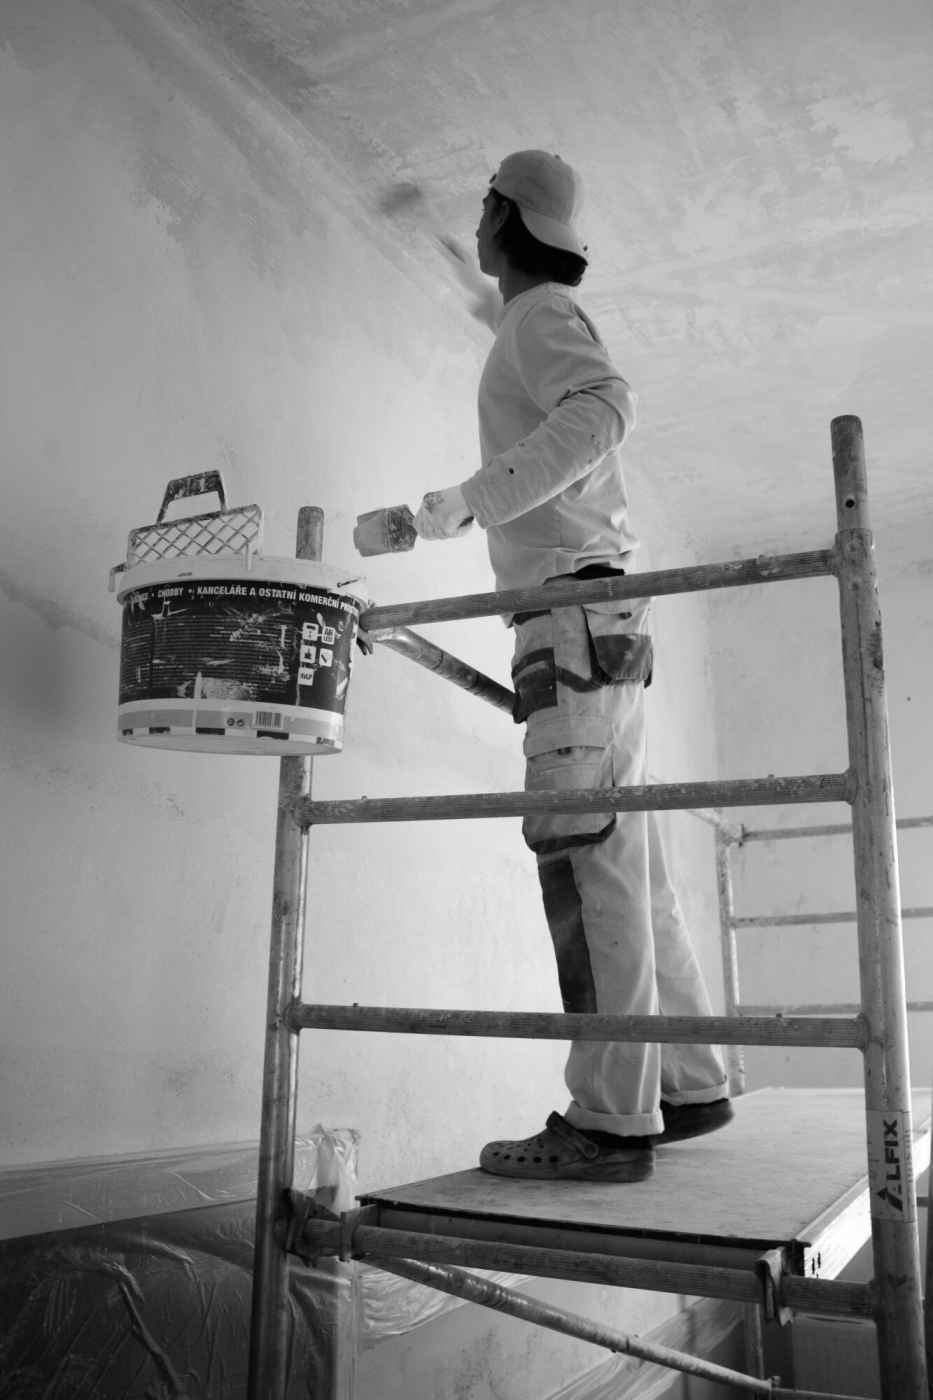
Have you ever finished a plaster job only to see cracks or uneven patches appear later? Timing may be the real issue. Plaster drying isn’t just about waiting-it’s about controlling the process.
The right timing ensures strength, smoothness, and beauty in every finish. Rushing or delaying can ruin even the best craftsmanship. Professional results depend on knowing when to act and when to wait.
This blog reveals proven methods to master plaster drying timing for flawless, lasting results. Keep on reading!
Understanding the Plaster Drying Process
Hydration is the chemical process by which water reacts with plaster to make it hard. Surfaces can get cracks and become weak if they dry too quickly.
Slow drying, on the other hand, can make projects take longer and weaken the surface. Experts know that balance, not speed, is what you want to achieve. If you know how plaster sets, you can get a finish that lasts and looks great.
Factors That Influence Drying Time
Several factors determine how fast plaster dries, such as temperature, humidity, and airflow. Warm, dry air speeds up the process, while cold or damp air slows it down.
The type and thickness of plaster also make a difference. External walls or large areas tend to take longer to dry evenly. Knowing these variables helps professionals plan and adjust conditions as needed.
Common Mistakes in Plaster Drying
Incorrectly attempting to dry plaster quickly with heaters or fans is one of the most common mistakes. Inadequate drying can happen this way, causing cracks. Applying paint or wallpaper before the plaster is fully dry is another mistake.
It’s also possible to cut down on the working time by overmixing plaster, which leaves little room for changes. Professionals avoid these problems by sticking to the natural rhythm of drying and keeping a close eye on each step.
The Role of Environment and Preparation
Good preparation is key before plastering begins. Rooms should be well-ventilated but not exposed to direct heat or drafts. Surfaces must be clean, stable, and properly sealed to ensure even absorption.
Controlling room temperature and moisture levels prevents rapid drying. Proper environmental setup sets the foundation for consistent, reliable plaster results.
Tools and Additives That Help Control Timing
Professional plasterers often use additives to manage drying time effectively. Retarders can extend the setting period, giving more control over application and finishing.
For demanding projects, it’s smart to order high-quality extratime plaster retarder to maintain workability in changing conditions. Mixing ratios should always follow the manufacturer’s instructions for best results. With the right tools and products, timing becomes a controlled advantage, not a guessing game.
Best Practices for a Perfect Finish
Always wait until the last layer is completely dry before adding the next one. Keep an eye out for colour changes.
As plaster dries, it turns pale, which means it’s ready to be finished. If you seal the walls too soon, water may still be trapped inside.
To improve future work, keep track of how long things dry in different situations. If you stick to these steady, old-fashioned methods, you’ll always get good professional results.
Managing Plaster Drying Times Effectively
The difference between a perfect finish and a failed one is timing. If you manage the plaster drying time well, you can avoid cracks, shrinkage, and expensive repairs.
It shows that the plasterers have been following the same values for generations: discipline, skill, and respect for their craft. Professionals can make sure that every wall lasts for a long time if they know what they’re doing and are patient.


