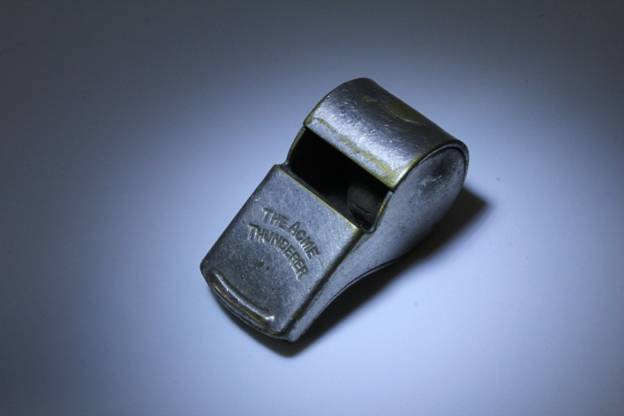
Did you know that an emergency whistle should be a permanent fixture on every person’s keychain or key ring?
During any walk, hike, or camping trip, you never know what’s going to come up. With that in mind, having the proper equipment and tools is essential for safety and survival.
An emergency whistle is the first thing you should bring with you on any wilderness excursion. One blast from a whistle can summon help from a good distance away.
But do you know how to use it? Keep reading for our top emergency whistle tips!
Make Sure the Whistle Is Accessible
The whistle should be easily accessible, such as clipped to your belt loop or lanyard. This way, it will be available for use without having to rummage through your backpack or pockets to find it.
If you are looking for an emergency hiking kit, you can check here for more information. Look for a survival whistle that offers maximum range and volume and can emit a generic emergency sound of help. This will allow a hiker to quickly call for help in emergencies and be heard over long distances.
Consider the Surroundings and Wind Direction
To ensure maximum volume, you should consider the surroundings, distance, and wind direction. Stay aware of your surroundings and think about the best place to position yourself and the whistle. Try to be in a higher place, as sound carries further this way.
Think about the distance between you and the help you need. The further away the help is, the louder your signal needs to be. Take into account the direction and strength of the wind.
It can help you produce louder whistleblowing wind and make the sound stronger and easier to hear at longer distances. All these factors are essential when using an emergency whistle to signal help in outdoor survival situations.
Blow the Emergency Whistle in Three-Second Bursts
The loud, shrill sound of a whistle can be heard over great distances and is recognizable as a distress signal. For the best chance of being heard, blow the whistle in three-second bursts with a break of one to three seconds between each blow. The break in between allows others to recognize the signal and be certain that help is being requested.
It also conserves energy, as it is not necessary to blow continuously. Blow as long as you have the breath to not lose the ability to call for help if needed again.
After giving a search party time to scour the area, wait three minutes before going through the cycle again. If help has not arrived, then trigger the whistle another two or three times until help arrives.
Follow This Guide on How to Use an Emergency Whistle
Using an emergency whistle to signal help is a necessary piece of hiking gear used in an emergency. Make sure the whistle is accessible, consider the surroundings, distance, and wind direction to maximize volume, and blow the whistle in a three-second burst in the event of an emergency.
Get yours today and practice using it in different scenarios. When faced with an emergency, you’ll be well-equipped with these hiking tips to signal help and get the assistance you need.
If you enjoyed this article about rescue whistle, please read more of our blog today.


