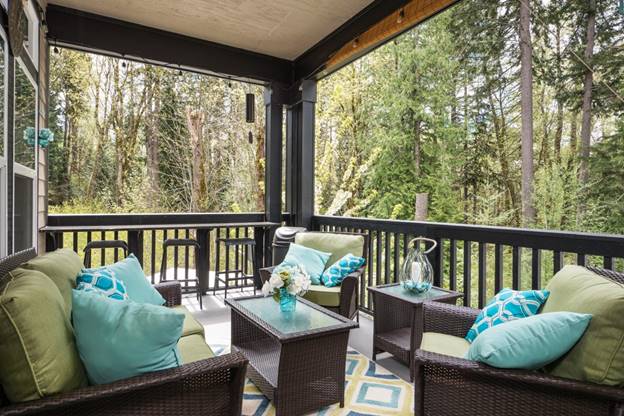
Building a patio cover is one of the best investments you can make. Not only does it help to extend your outdoor living space, but it can also add a ton of value to your home!
It is an ideal way to increase the outdoor living space of your home. It’s like a patio umbrella, offering shade and protection from outdoor elements. But it’s on your property, attached to your home.
Keep reading to discover ways to construct a patio cover.
Get the Materials Needed
Building a patio cover is a great way to expand your outdoor living space and give your outdoor area an elegant look. There are different types of custom decks available depending on the climate and the type of look you’d like to achieve. To start the construction of a patio cover, you will need to purchase the necessary materials.
Determine the size and shape of the patio cover you want to build. Calculate how much lumber you will need based on this. Be sure to purchase treated wood to prevent rotting and insect damage.
Gather the Proper Tools
You’ll want to have a circular saw, steel saw, cordless drill, hammer, and driver set, as well as additional items like a miter saw and a level. You may also need to rent or borrow a gas-powered saw if you’re cutting boards or posts made of strong materials like cedar or pressure-treated lumber. Be sure to wear protective gear when sawing, such as safety glasses and a face mask to avoid inhaling sawdust
Secure the Corner Posts
Begin by digging postholes with a hole digger at the outer corners of the patio furniture that reach at least 18 inches deep. Make sure to use a level to make sure the holes are perfectly vertical. Place the corner posts into the postholes and use metal brackets to secure the posts into the holes.
Build & Secure the Rim Joist
Begin by cutting two lengths of 2×6 lumber into the desired length. Line the ends of the boards up and use 5″ exterior wood screws to secure them in a rectangular frame. The frame should be able to hold the decking boards in place.
Attach the Rafters
Pre-drill holes in the rafter support and securely attach them with galvanized screws. Depending on the size of your patio cover plan, you may need to use larger screws and additional rafter supports. Once the rafter supports are attached, use lag screws to secure the rafters to the top of the supports.
Install the Slats on the Rafters
Position the slats on top of the rafters with the grooved edge turned downward. Secure the slats to the rafters with nail guns, then check to make sure the slats are uniformly staggered.
An overlap of 1″ from slat to slat should be maintained for an even lay. After the install is complete, the slats will be visible atop the patio cover, preventing sun and rain from entering.
A Step-By-Step Guide on How to Build a Patio Cover
Overall, building a patio cover provides a great way to extend your outdoor living space without breaking the bank. Follow the steps above on how to build a patio cover and you’ll have a nice new outdoor space to enjoy in no time. Put your new patio cover to the test with a summer barbecue or just relax in the shade – the possibilities are endless!
To explore more informative articles, visit our main blog.


